You've invested in a cutting-edge red light therapy mask, like the Skin Trusted Mask with its impressive 50 irradiance. Now, the big question is: how do you seamlessly integrate this powerful device into your existing skincare routine to maximize results?
It's more than just wearing the mask; it's about optimizing your skin for the light and enhancing its benefits afterward. This guide will walk you through the ultimate pre-mask ritual, what to do during your session, and how to create the perfect post-mask glow.
The Golden Rule: Consistency is Key
Before diving into the steps, remember that the most crucial factor for seeing results with red light therapy is consistency. Aim for regular sessions (e.g., 3-5 times a week) as recommended by your device's instructions, and make it a non-negotiable part of your self-care.
Step 1: The Pre-Mask Ritual – Optimize Your Canvas
The goal before your LED mask session is to ensure nothing blocks the light from reaching your skin. Think of it as preparing a clean, unobstructed canvas.
What to DO Before Your Mask:
-
Cleanse Thoroughly: This is non-negotiable. Use a gentle cleanser to remove all makeup, sunscreen, dirt, and oils. Any barrier on your skin can absorb or reflect the light, reducing its effectiveness.
-
Pro Tip: Double cleansing can be particularly effective if you wear heavy makeup or sunscreen.
-
-
Ensure Dry Skin (Optional, but Recommended): While not strictly required, patting your skin completely dry can help the mask sit more comfortably and ensure no residual water interferes with light penetration.
What NOT to Do (or Apply) Before Your Mask:
-
Avoid Heavy Creams or Oils: Moisturizers, thick serums, or facial oils can create a physical barrier. Save these for after your session.
-
Skip Sunscreen: Unless you're doing your session outdoors (which is generally not recommended with these devices), there's no need for sunscreen during your light therapy.
-
Refrain from Certain Active Ingredients: If you've just applied potent ingredients like Retinol, Tretinoin, AHAs (Alpha Hydroxy Acids), or BHAs (Beta Hydroxy Acids), consider doing your mask session at a different time of day or on a different day. These ingredients can make your skin more sensitive, and while red light is gentle, it's best to avoid potential interactions or heightened sensitivity.
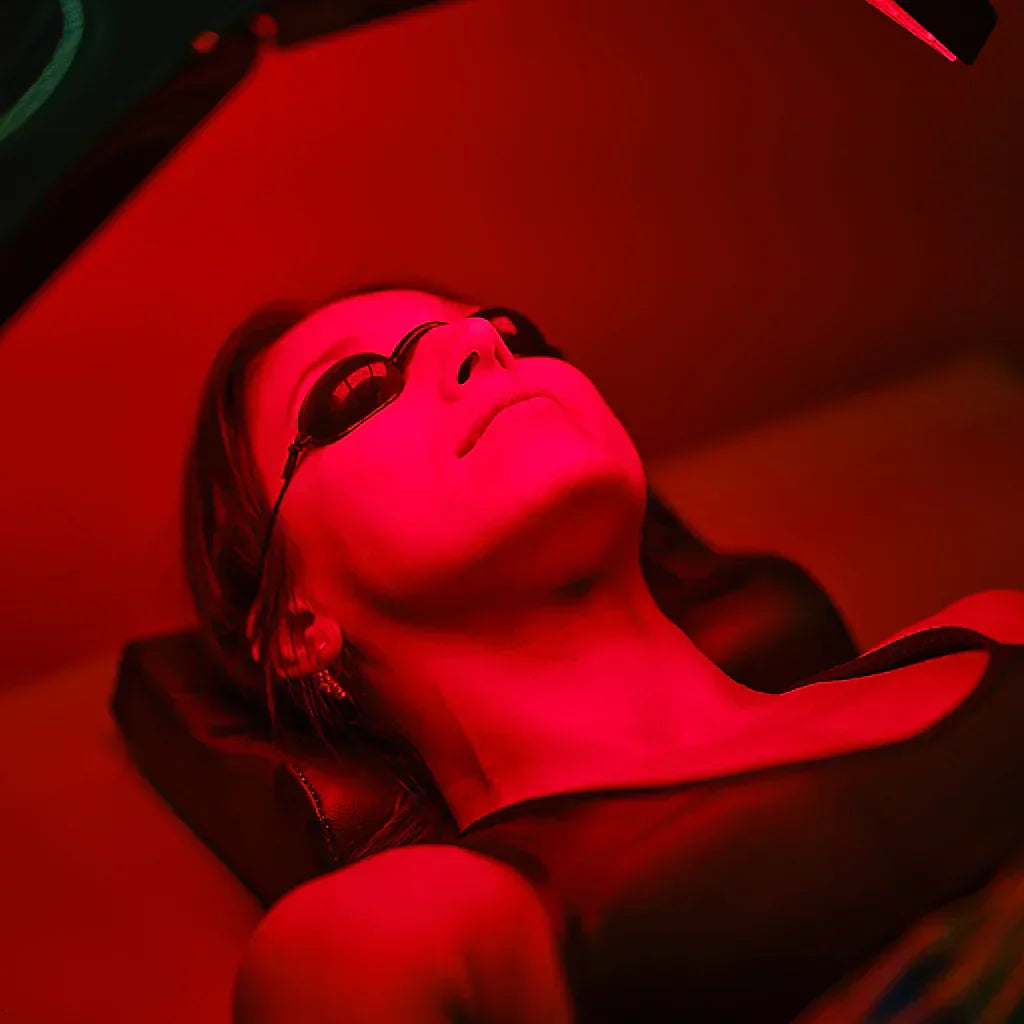
Step 2: Your Red Light Therapy Mask Session – Relax and Rejuvenate
This is the easy part! With your clean, prepped skin, it's time to put on your mask.
-
Position Your Mask: Place your Skin Trusted Mask comfortably on your face. Ensure it fits snugly but not too tightly. The internal design of a high-quality mask like yours (with 50 irradiance) is engineered to deliver optimal light directly to your skin without requiring you to hold it in place.
-
Select Your Mode: Choose the appropriate light mode (e.g., red for anti-aging, blue for acne, near-infrared for deeper rejuvenation).
-
Relax and Enjoy: During your 10-15 minute session, take this time for self-care. Listen to a podcast, meditate, read (if your mask allows), or simply close your eyes and unwind.
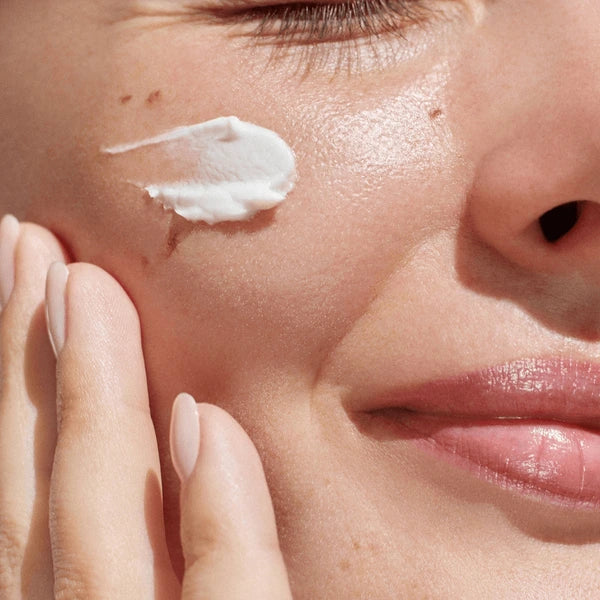
Step 3: The Post-Mask Glow – Amplify Your Results
After your red light therapy session, your skin is in a prime state to absorb beneficial ingredients. The increased micro-circulation and cellular activity make it more receptive to your favorite serums and moisturizers.
What to DO After Your Mask:
-
Hydrate with Hyaluronic Acid: This is the perfect pairing! Hyaluronic acid draws moisture into the skin, and your post-LED skin will drink it up. It helps plump the skin and enhances the glowing effect.
-
The Ultimate Hydration Duo: Apply a hyaluronic acid serum immediately after your mask for amplified hydration and skin plumping.
-
-
Boost with Vitamin C Serums: Follow with a Vitamin C serum to capitalize on red light's collagen-boosting effects. Vitamin C is a powerful antioxidant that works synergistically with light therapy to brighten skin and further stimulate collagen production.
-
Apply Niacinamide: If you use niacinamide, apply it after your mask. It's excellent for barrier support, reducing redness, and minimizing pores, all of which benefit from the enhanced absorption post-light therapy.
-
Moisturize: Lock in all those beneficial serums with your favorite moisturizer to seal in hydration and protect your skin barrier.
-
Sunscreen (Daytime): Always finish your morning routine with broad-spectrum sunscreen, as good skincare practices always include sun protection.
What to Consider for Potent Actives (Retinol, AHAs/BHAs):
-
Evening Application: If you use Retinol, Tretinoin, AHAs, or BHAs, the evening is generally the best time for these, but you should apply them after your LED mask session. This ensures the light therapy has done its work without immediate interference from strong actives.
-
Alternate Nights: For very sensitive skin, or when starting new strong actives, consider using your LED mask on alternate nights from these ingredients to allow your skin to adjust.
Morning or Night? The Best Time for Your Mask
The best time of day depends on your personal preference and goals:
-
Morning Session: Can help reduce morning puffiness, calm redness, and invigorate your skin for the day. It also creates an excellent base for makeup application.
-
Evening Session: This can be a relaxing end to your day, promoting a sense of calm. The evening is also when your skin's natural repair processes are most active, so red and near-infrared light can enhance overnight regeneration. However, if your mask includes blue light for acne, some prefer to use it earlier in the day, as blue light can be stimulating.
Consistency is Your Secret Weapon
Whether you prefer a morning refresh or an evening rejuvenation, making your red light therapy mask a consistent part of your skincare routine is where you'll see transformative results. By preparing your skin, enjoying your session, and following up with targeted products, you're not just using a device—you're optimizing your entire skincare strategy for a radiant, healthy glow.